UPDATE: I was recently asked to enter this chandelier into Lamps.com’s DIY Chandelier Face Off. Voting ends May 17th, please vote for Design Waffle’s “Chandelier Drum Shade”!
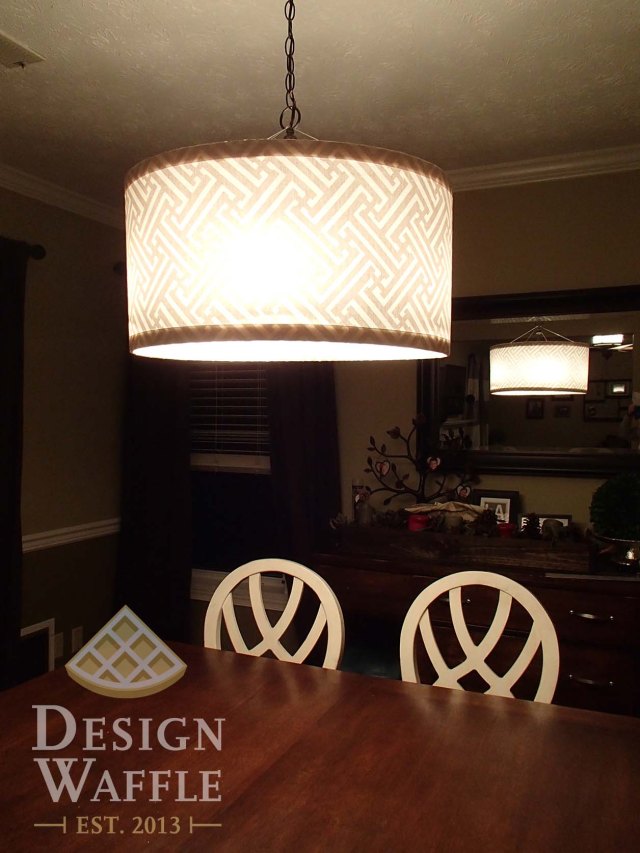
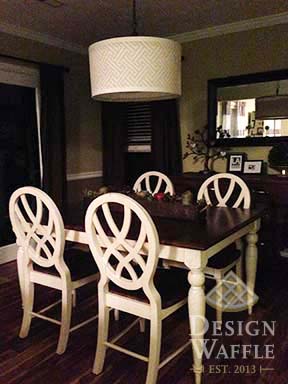
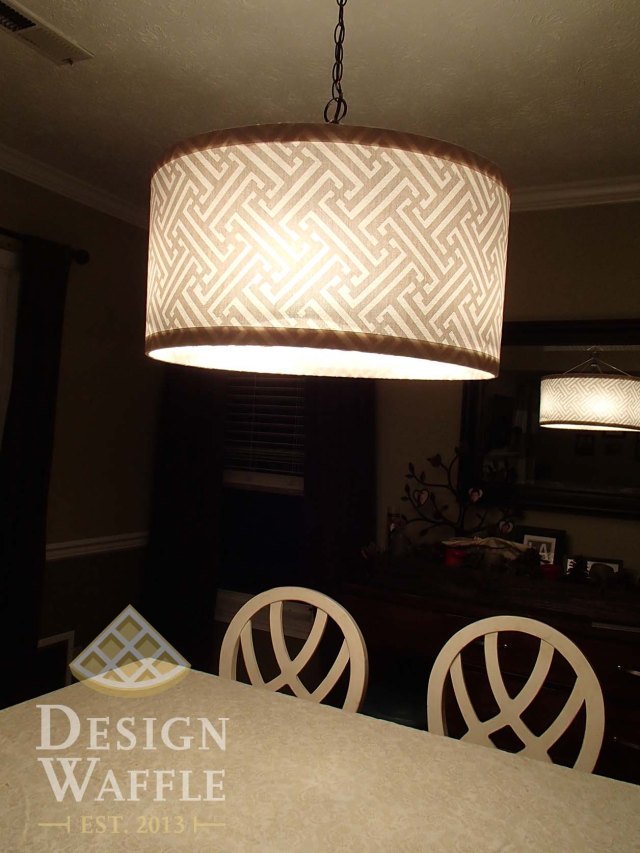
This was a super easy project and it’s a very inexpensive way to add life to an old chandelier without any electrical work!
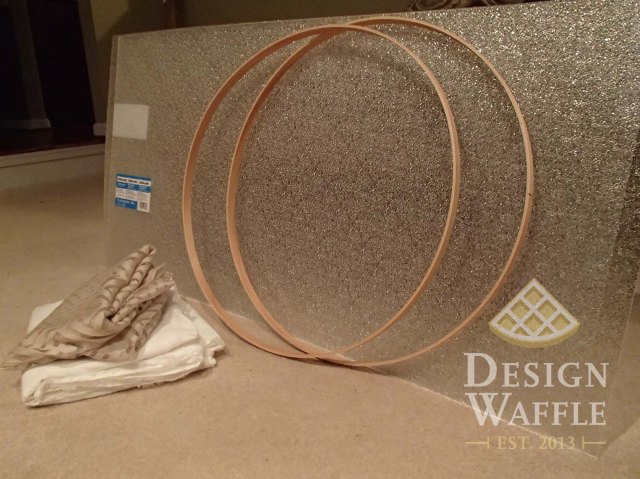
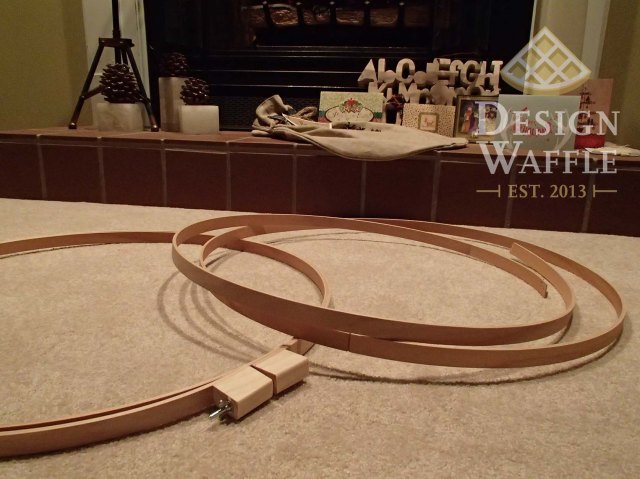
My chandelier was about 20″ in diameter and 10″ tall from the top of the arms to the bottom of the glass lightbulb shades. I used 2, 23″ wooden quilting hoops from Joann Fabrics (about $2.50/ea, Make sure you measure the height and width of your chandelier to make sure the drum shade isn’t too big or too small. You want it to be at least an inch or so larger so the chandelier doesn’t actually touch the shade), 1 commercial plexiglass light panel (under $7 from Lowe’s), 74″x14″ of white cotton fabric, 74″x14″ of sheer patterned fabric (You could use just one piece of fabric but I was too in love with the pattern to pass up on it. So I layered the two), matching ribbon (at least 4 yards), 4 eyelet hooks and fishing line (found lying around the house).
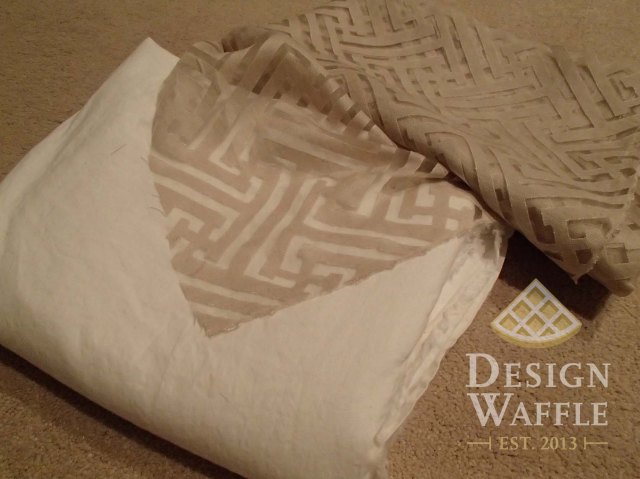
Here you can see what the sheer fabric looked like with and without the white lining.
I used the center hoop since it’s formed and glued into a perfect circle, unlike the adjustable outside piece. So you can toss or save the outside hoop for a future project.
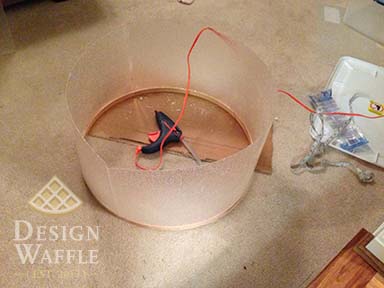
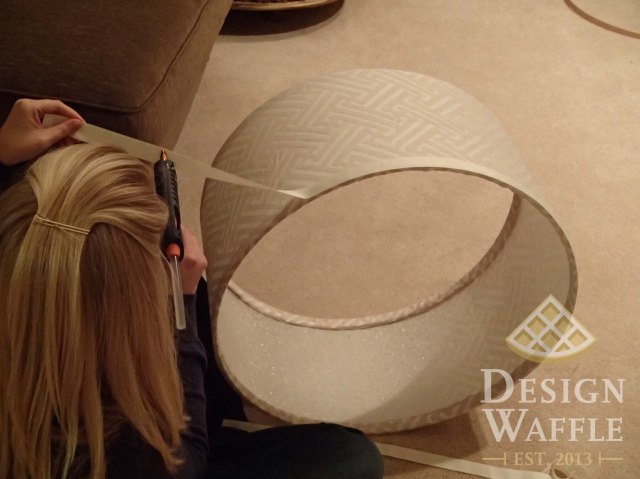
I started off by cutting down the plexiglass [insert husband assistance here]. Our shade is 12″ tall so the plexi needed to be 12″x 72″. The plexi panel wasn’t long enough so I pieced it together with my trusty hot glue gun. I wrapped the plexi around the outside of the wooden hoops, applying the glue generously. Gloves would have come in handy, but I’m stubborn and don’t like wearing them… I would advise you wear them.
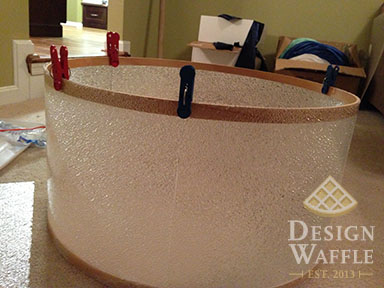
When I attached the next wooden hoop, I used chip clips to hold it in place. Then I pried open a space to squeeze some glue into every inch or so. I’m a little obsessed with the glue gun so I used a handful of glue sticks for this project.
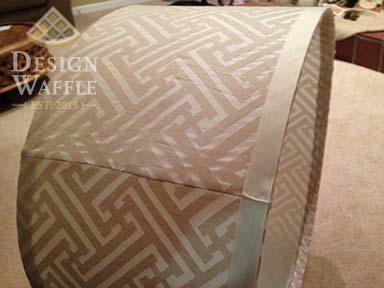
Wait a second, how’d that fabric get on there! I know, I skipped a photo in this step, I’m sorry. What I did was wrap the fabric around the cylinder, good side against the plexi. Then I used sewing pins to tightly pin the fabric ends to one another. I carefully slipped the fabric off the shade and then sewed a seam. Then I flipped it right side out and slipped it back onto the cylinder. This was tricky because if you did it nice and tight like I did, then you’ll need four hands… and if you don’t have four hands, then a friend or husband will come in handy. Then I wrapped the excess fabric into the inside of the wooden hoop, folding it under to conceal the frayed edge, and hot glued it in place. I covered up the wooden hoop completely so that it was concealed. Make sure the fabric is nice and tight. Mine was a little trickier since I was working with two layers of fabric.
Then I glued a piece of ribbon all the way around the top and bottom of the shade. I only applied a thin line of glue towards one edge of the ribbon all the way down. That way once the shade was hanging, the light and shadows wouldn’t show all the squiggly glue lines if I had glued right down the middle of the ribbon. When I got to the end, I folded it under neatly and glued. You don’t have to use the ribbon, but in my opinion, it really finished it off.
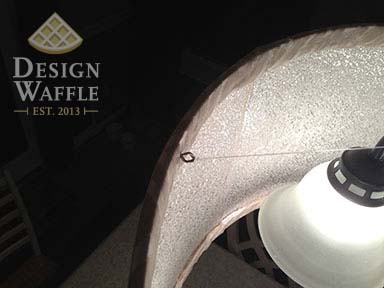
Now at this point it was practically done and I was beyond giddy. I screwed in the eyelet hooks by hand directly into the inside of the wooden hoops. Make sure they aren’t long enough to poke through to the other side.
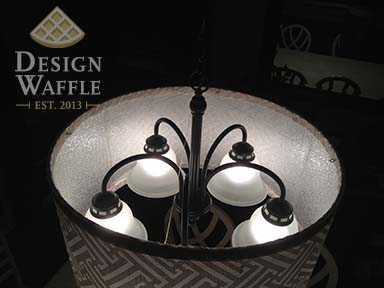
Then I tied on the fishing line with quadruple knots (because I like to be absolutely positively sure this thing isn’t going to squash me in the middle of dinner). You’ll need to do this step while the chandelier is in place, so you’ll need someone to hold it while you’re tying. I started by tying to one eyelet hook, then I threaded it through a link in the chandelier chain, then I tied it to the eyelet hook on the opposite side. I did this for the other two eyelet hooks as well. The photos really explain it better than I probably am.
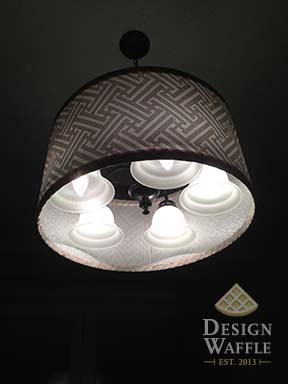
And there you have it. An inexpensive, yet beautiful way to add a fresh new look to an otherwise drab chandelier. I’m in love.



You have lots of talent and a nice DIY Project site.
Thank you Joyce! I need to be better about taking photos from here on out. I’m going to post some more tonight but I don’t have many photos. Blogging brings a whole new perspective to my projects. I’m still learning!
Pingback: Sewing a Bay Window Seat Cushion | Design Waffle
Wow! Ashley, your talent never ceases to amaze me! You are such an accomplished young lady. Keep up the good work!
Thanks Sandy!
Beautiful!!! Wish I had the creative talent you did—my house would look so much better!
Wow! Thank you so much for posting this! I was racking my brain trying to figure out how to hang a DIY chandelier drum shade onto the chandelier itself when I obviously don’t have the usual hardware of a store bought shade. Also, your tutorial was very helpful in the actual making of the shade. Thank you, thank you!!
I would like to make a suggestion for your light fixture if I may. You made this beautiful new shade, however I noticed you left the old glass shades on with your new one over that. Typically, chandelier drum shades are meant to fly solo; just the one big shade surrounding bare bulbs. If you were to Google “chandelier drum shade” you would see what I am describing. Personally, I think the one big drum shade you made would make your fixture look all the more fantastic =)
I’ll play around with the glass shades when I get home today. If I remember correctly, they helped to keep the shade I made level and to keep it from touching the bare bulbs. Thanks for the feedback and I’m glad my tutorial was helpful 🙂
How did your husband cut the plexi panel? mine is cracking as I try to cut a straight line. 😦 thanks!!!!!
He used a utility knife against a metal ruler. He did a few passes so it wouldn’t crack. Hopefully it will work for you! I’ve used a table saw in the past too.
Pingback: Burlap Swag Drum Shade | Laura Anne Stone
Hiya, I’ve been searching the web for a good-looking DIY drum shade, and this is the absolute best! I love the materials you used. It’s gorgeous. Thanks for the post! Time for my kitchen fixture to get a little UPDATE!
Thanks!
g i n a at CampClem
Thanks! I hope your project goes well. Please share photos when you’re done. I’d love to see how it turns out!
Awesome tutorial…there’s a $380.00 very elegant shirred chiffon drum shade and crystal chandelier on sale via the web, but, I did not want to pay that much…and, since crystal Christmas ornaments and garland are in the stores (Hobby Lobby), I wanted to make my own. I found all the crystal now I need the shade…Thank you so very much for your post, my boring one tier brass chandelier will be re-styled into a replica of the one on line with all the high Hollywood glam…bling, bling…my darlings! I could not figure out how to attach the shade to the lamp, your tutorial helped…eye screws, wire, suspended resting on the lamp fixture! Thank you so very much! Love your creativity!!!
Thanks! I hope your chandelier turns out as great as your plans. Please share photos when it’s all done. I’d love to see it!
Pingback: Happy 1st Birthday Design Waffle! | Design Waffle
Finally! I have searched for months (probably years) for a chandelier I could make! I even resorted to just looking around for a drum shade only, absolutely no luck on one large enough! I am so happy someone like you has the creative wherewithal to figure out how to make one and were kind enough to share! I LOVE THIS and plan to make one just like it now that I know how!
Thanks Lisa!
I’d love to see photos of your finished shade. I’m glad my post was just what you’ve been looking for. Good luck with your project!
-Ashley
Can you tell me what brand your kitchen table chairs are? or what store you got them from! I love them!
Hi Kelly,
I have no idea what the brand is. It doesn’t say anywhere on the chairs or table. I bought the set at a yard sale for about $100 a few years ago. I did actually find out the maker back when we bought it because I wanted to buy two additional chairs. I found out they were around $300/chair so I said “forget it!” I found them by googling “round antique white dining chairs” and then I searched until I nearly reached the end of the internet. I never wrote down the brand so I just can’t remember. Sorry! I wish I could be more help.
-Ashley
Pingback: Chandelier Lamp Shades Lowes | Arts Ideas For Your Home
Hi!!! I love how this turned out! I’m actually trying to figure out what panels you used. Are they the ones you put in the long fluorescent light fixtures?
Yes I think so. You could show my supplies photo to a Lowe’s or Home Depot worker and ask them where to find it. Good luck with your project!
Pingback: Russell’s Wish List | Erben Christmas
Pingback: Drum Chandelier Shades 1606 - Home Inspiration Ideas
Pingback: Drum Shade Chandelier 2368 - Home Inspiration Ideas
Thank you for sharing this. I want to do this in my house but wasn’t sure how to attach it to the chandelier without a light/bulb fitment attached to the top. Great.
You’re welcome! Good luck with your project. I’d love to see how it turns out 😊