It’s been a while since I’ve done a project around the house because my grad classes are keeping me way too busy. I’ve been itching to do a new project so instead of easing back into our old norm we dove in with a big project: a sectional patio set. You’re probably wondering why we’d do this when stores sell perfectly good furniture. Well, that perfectly good furniture is expensive! And it’s actually pretty flimsy unless you spring for the good stuff. There will be no “springing” in our house because we love a good challenge. And a challenge it was (in a good way, of course).
Oh and by the way, you’re about to read some very technical building and wood working terms in this post because you know, we’re professionals uneducated when it comes to these sorts of things. That’s alright though because this modular patio set turned out pretty awesome so it’s worth the read.
*Note: Image heavy post! Projects like this are easily explained by images so I won’t explain too much. Feel free to ask questions if I’ve left out anything!
Tools:
- level
- chop saw
- table saw
- pencil
- drill (3/16″ bit)
- disk sander
Supplies:
- 3 lb of 2″ stainless steel screws ($15.69/lb= $47.07)
- wood glue
- 2x3x8, qty: 10 ($2.05/ea= $20.50)
- 1x4x12, qty: 20 ($5.57/ea= $111.40)
- 120 grit sandpaper
Cushions:
- Hallo Pad 24×24″ from Ikea, gray, qty: 4 ($25/ea= $100)
- Hallo Pad 24×17″, gray, qty: 5 ($15/ea= $75)
Project Grand Total: $353.97
Overall Project Notes & Tips:
We avoided splitting by pre-drilling holes for every single screw. For the base structure of each chair we used wood glue. We didn’t use wood glue for the butt and back slats (where the cushions sit and lean against).
When cutting all butt and back slats for the non-corner chair sections, we cut all the pieces at the same time by setting up the chop saw blade 24″ from the wall of our garage that way we didn’t have to measure and mark each board. We just pushed the wood up against the wall and cut, knowing that each would be exactly the same size. This worked very well! Then we pre-drilled all the holes at the same time by using the Hole Marking Board underneath each as a base so the drill bit could go all the way through the boards.
Armless Chairs
The Plan:
The sizes in the sketch aren’t exact. It was a general plan for how we wanted to build it. The actual sizes are shown in a few photos down.

The Process:

These are the exact sizes! Also, we ended up adding an extra brace to the backside of the armless chairs to secure the back legs to each other. This piece was made out of a 1×4.


Setting up the chop saw with the blade 24″ from the garage wall made for speedy cutting when we needed multiple cuts all the same length. No measuring for each board!


We made spacer strips to make sure the butt and backer boards were evenly spaced. The lengths were around 24″ and we used scrap material.


*Note: we haven’t completely figured out yet if these back braces will hold up all too well over time. As of now, they’re pretty solid. We’re thinking about adding a triangular piece behind it to give it some added support.


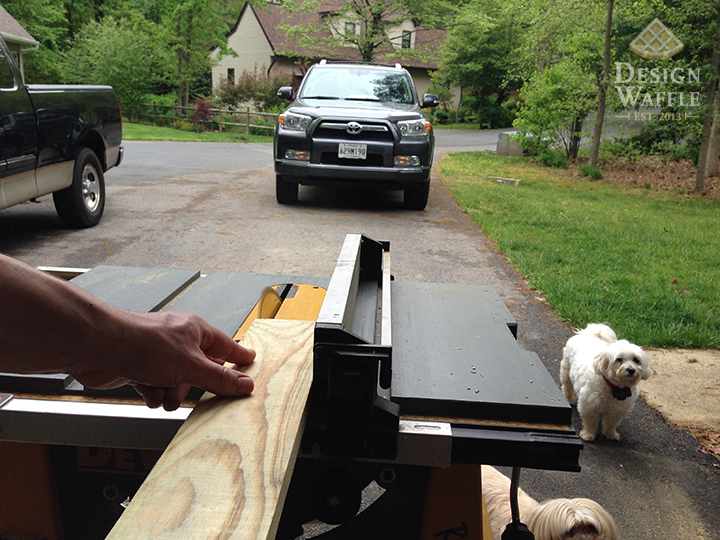
Two boards per armless chair had a 15° angle cut via the table saw so that it butt up nicely with the top cap piece and the butt boards. You can see those angles if you scroll through the photos below.

Our back spacers at work!


Travis is using the Hole Marking Board underneath each good piece of wood during the pre-drilling phase in order to make sure he went all the way through each time.

Here’s one of the 15° angled boards. You can see how the angle is level with the base.

Here are our Butt Spacers at work.

Here’s how it turned out! Kimble approves!

Now for the Corner Chair
This chair was a pain in our butts! There may or may not have been colorful language used when trying to figure out how to make this thing. And this isn’t that kinda blog so I’ll leave those parts out.
What’s that saying again? …Oh yes, “measure twice cut once”. Well, let’s just say we measured about 5 times and still cut 15 or so times haha. In our defense, it was nearly midnight and we’d been working on this thing for hours after working a full day. But we got it after a few wrong cuts 😉 Now we’re pros (or so we think)!


We decided to use the 1×4 boards on the front sides of this chair just in case we ever decided to separate one of the chairs from the sectional. This way the wood looks similar from the front, regardless of how the sectional is arranged.


We sat the corner chair next to a finished armless chair so we could mark where all the butt boards lined up. That way we knew how to space the diagonal butt boards on the corner chair.
Although we knew exactly where each board should sit since we had those pencil lines to follow, we still cut a few diagonal butt spacer strips to keep the boards in place while drilling and screwing [up] (just kidding… but actually not kidding). These strips were thinner than the armless chair butt spacer strips.


We decided to add a middle brace and a leg for added support. You can see it in the photo below. The leg is 14 1/4″ tall and the horizontal middle brace is 26″ wide.


Travis used a level and pencil to mark off a straight edge. Then we trimmed each board accordingly. We utilized the same back spacer strips from the armless chairs during this process.

The backer boards were a compound cut. The general angle was a 45° angle since the base is perfectly square. The angle that tapers back is 11° to accommodate for the angled chair back as a whole so that it was mitered perfectly decently close. (This was tricky!… for us at least.)
The backer board measurements in the photo above are the measurement from the top right inside corner to the end of the board on the left (so the top inside measurement). The 33 1/4″ measurement is the top cap board from the angled tip to the square end.


And we finally have a sectional! The boards match up pretty well too.


We’re pretty happy with how it all turned out! Since we used treated wood, we need to wait a week or so before we can stain the wood. We’re planning to use a deep navy blue stain to match the outdoor rug and accent pillows. I’d like to buy a bright contrasting colored round coffee table. Or you know, maybe we’ll make one 😉 Once the furniture is stained and the room is completely decorated, I’ll share more photos!
As always, thanks for reading!